June 2015: Almost finished a cushion cover for a friend who gave me all her old Liberty prints and other fabrics once she saw my quilting work. So I incorporated several of her fabrics into this cushion cover and will surprise her with it very soon! (The border looks black and white in this photo, but it's actually a deep navy and suits all the other colours in the work.)

May 2015: For the past three months I've been feverishly creating presents for my friends and family.
My best present: a tote bag, made of quilted patchwork and lined... a course on Craftsy.com online by Tara Rebman.


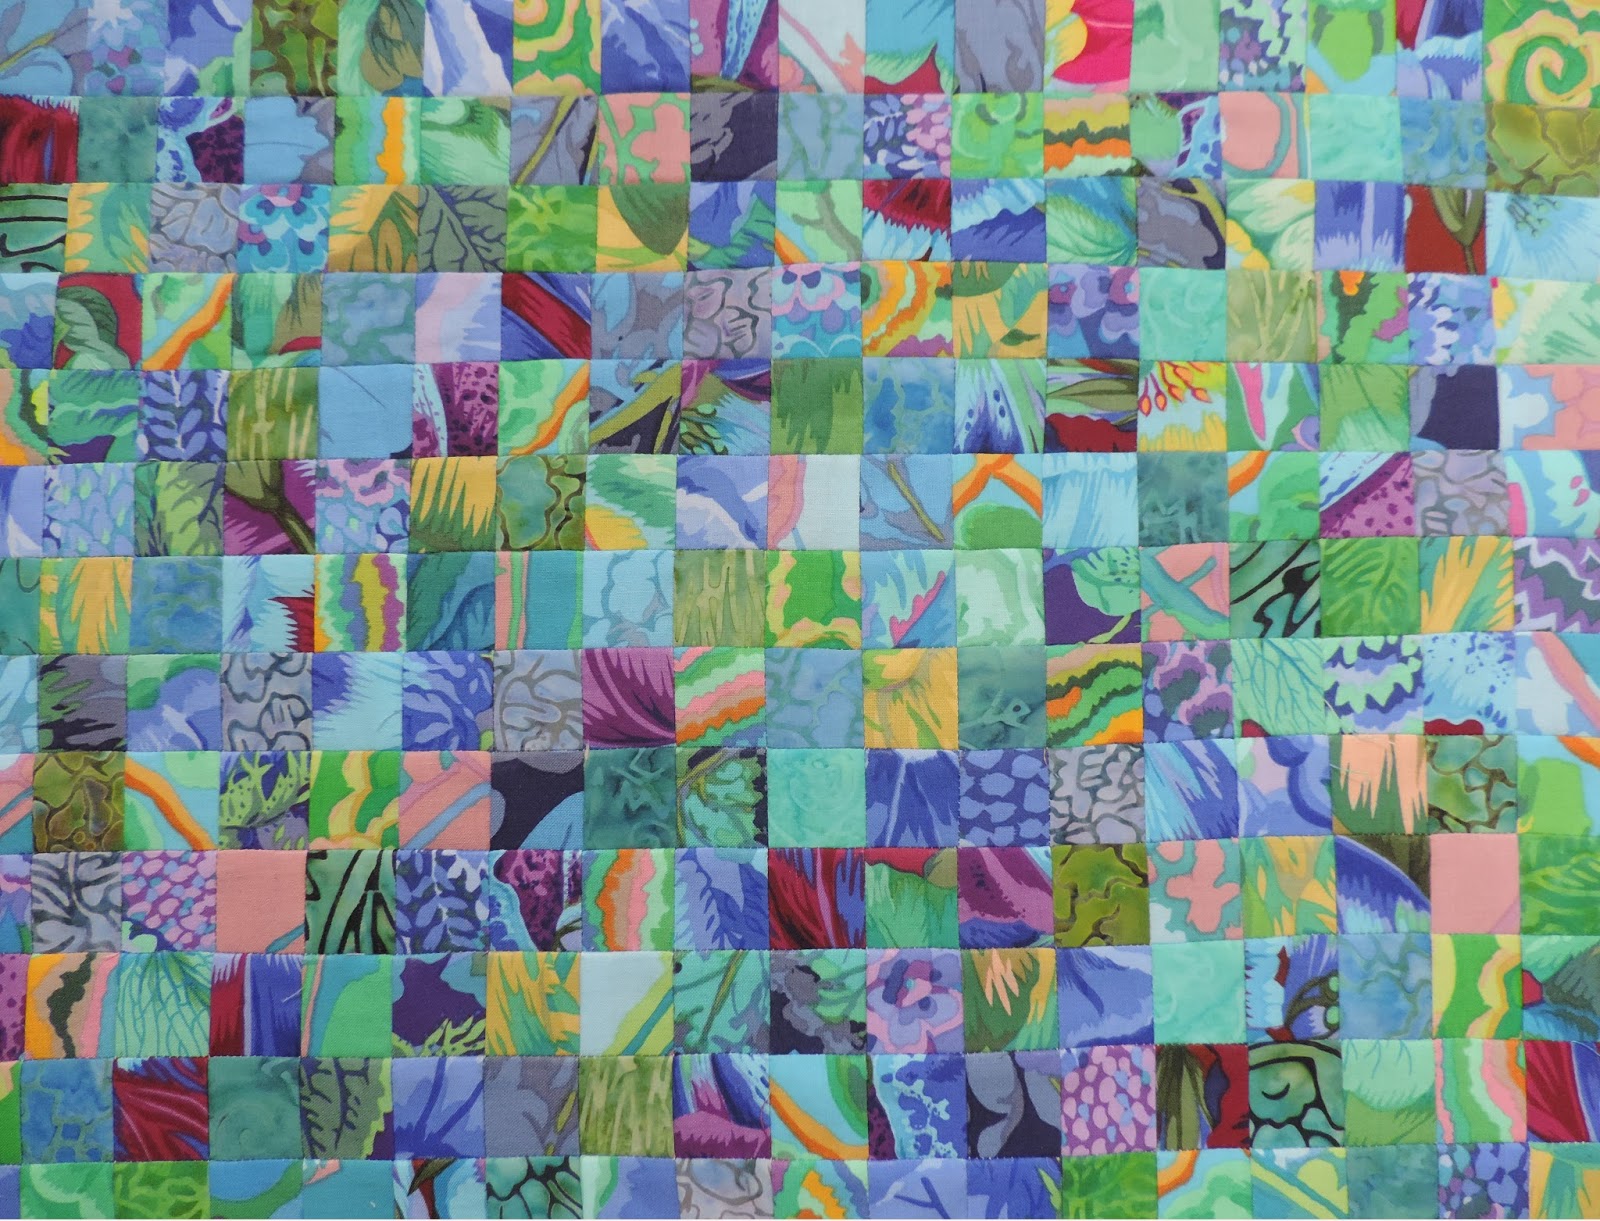
Next: a wall-hanging from a kit I purchased on Craftsy.com and stitched all the little squares together!

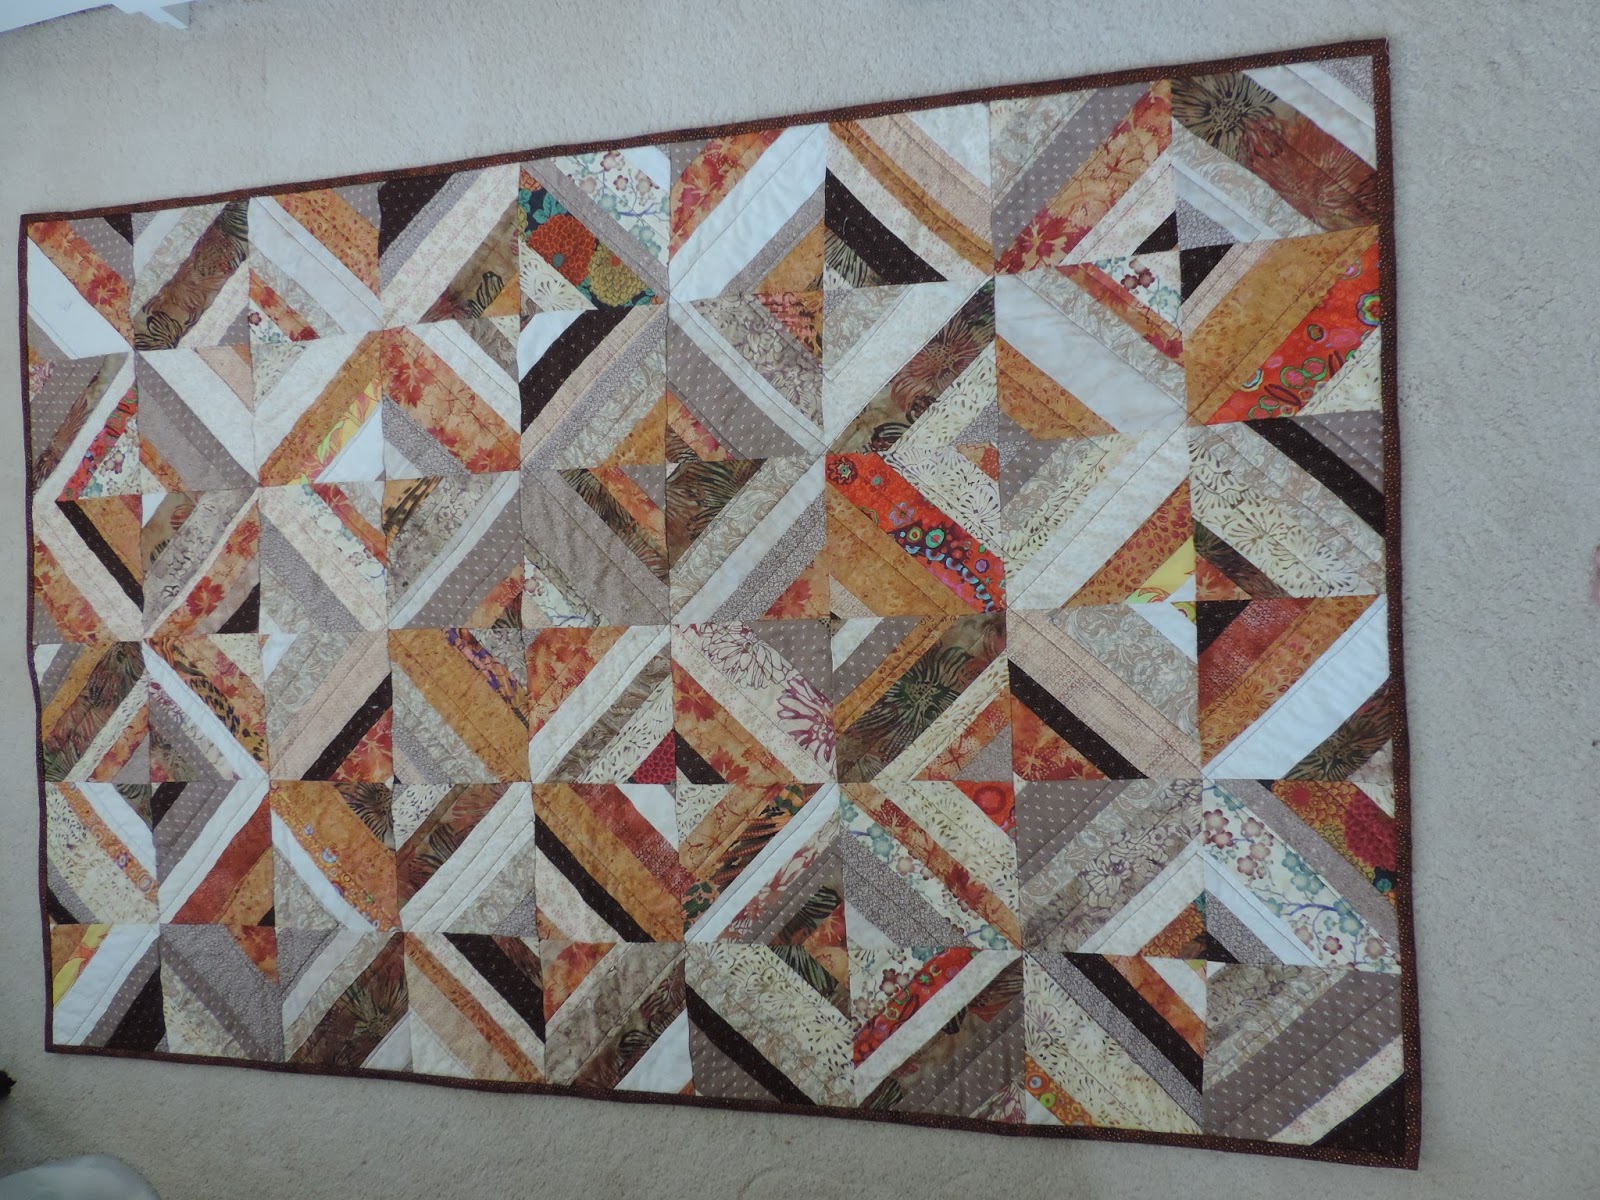
Next: a throw (or wall-hanging) made from strips:

Made all these various cushion covers. Easy to transport abroad, and I'll let the recipients find the right filling or cushion! The backs are in attractive fabrics, with a straight envelope flap across the width of the back... very easy to fill. Wonky half log cabin pillowcases - as per Jacquie Gering's tutorial on her blog.


Finished stitching and appliqueeing my paperpiecing Y-shapes into this 'Metropolis' that appeared in my Needlechasers of Chevy Chase guild biannual quilting show in October 2014:


Table runner: from a Craftsy kit:

February 2013: This is a jacket made from a sweatshirt. I bought fabric that I liked, starched it, cut out floral motifs and machine stitched them onto the cut-open sweatshirt (having bought a 'background' fabric that would appear in between the flowers, to hide the black sweatshirt!). I went to two afternoon classes, and the rest was done at home over the space of about 3 weeks in all.
front of jacket:

back of jacket:

close-up of back of jacket

In 2012, I attended a ten-week class of two hours a week learning the basics of patchwork and quilting. It was very new to me as I'd never before used a sewing machine for any of my projects. I set to and made a 'sampler' in those ten weeks, which is now hanging on the wall at the foot of our bed.
I just love batiks and these autumnal colours!

My project after this one was a hand-quilted 'throw' for my stepmother in London, for her 80th birthday. I bought all the black and white fabrics, machine stitched them into blocks, machine stitched the red band, the small squares of the edging and the binding, then hand-quilted the circles and the 80 stars around the edge. Completed it in three weeks of pretty full-time work!
preparing all the squares...

piecing them together on the floor

preparing to baste (tack down the top design through the batting - soft cotton padding - to the backing fabric):

drawing circles to quilt through the three layers:

...until the final item looked liked this:


Before this throw, I had also finished a log cabin wall hanging that had lain around for several years. Actually all the blocks had been made years ago, it was just a question of sewing them together. Everything by hand. No quilting, no machine stitching. It's now up on our living room wall.
